
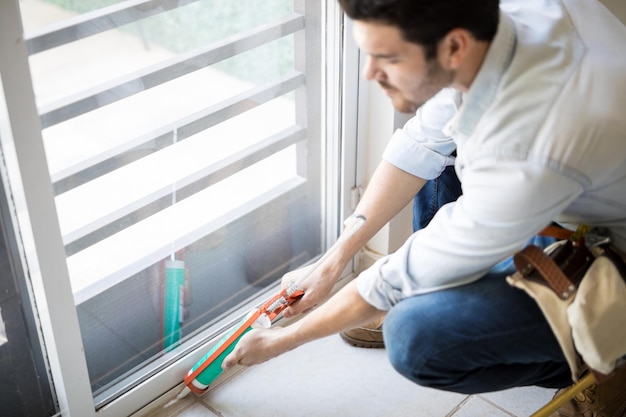
Replacing storm window glass can seem daunting, but with the right tools and guidance, it can be a manageable DIY task. Storm windows play a crucial role in protecting a home from harsh weather conditions, and ensuring their glass is intact is essential for optimal performance. This step-by-step tutorial will guide you through the process of replacing storm window glass with ease and precision.
Gather the Necessary Tools and Materials
Before embarking on the storm window replacement glass project, ensure you have the following tools and materials on hand:
- Replacement glass panel
- Measuring tape
- Glass cutter (if custom sizing is required)
- Glazing points
- Glazing putty
- Putty knife
- Screwdriver
- Work gloves
- Safety goggles
Step 1: Remove the Old Glass
Safety First
Begin by donning safety goggles and work gloves to protect yourself from sharp edges and shards of glass. Carefully remove the storm window frame from the main window structure. Lay the frame on a flat surface to work on it comfortably.
Detach the Existing Glass
Use a screwdriver to remove any screws securing the glass pane. If the glass is held in place by glazing points, gently pry them out with a putty knife. Once the points are removed, carefully lift the old glass out of the frame. Dispose of the glass safely or set it aside if it is still intact.
Step 2: Measure and Cut the New Glass
Accurate measurement is crucial for a snug fit. Measure the dimensions of the opening, subtracting a small margin to allow for glass expansion and ease of fit.
Cut the Glass
If the glass is not pre-cut, use a glass cutter to score the glass along the measured lines. Apply consistent pressure and make a single, clean cut. Gently break the glass along the score line, ensuring smooth edges.
Step 3: Install the New Glass
Set the Glass
Position the new glass into the frame, ensuring it fits securely within the opening. Use glazing points to hold the glass in place. Evenly space the points around the perimeter of the glass, pressing them gently into the frame with the putty knife.
Apply Glazing Putty
To seal the glass, apply glazing putty around the edges. Roll the putty into thin ropes and press it into the joint where the glass meets the frame. Smooth the putty with a putty knife for a clean finish, ensuring it seals the edge completely to prevent moisture ingress.
Step 4: Reinstall the Storm Window Frame
Once the putty has been applied and smoothed, allow it to cure according to the manufacturer’s instructions. After curing, carefully reinstall the storm window frame back into the main window structure. Ensure it is secure and fits snugly.
Final Thoughts
By following this guide, the task to replace storm window glass can be completed with confidence, improving both the energy efficiency and protection of the home. Regular maintenance and timely replacement of storm window glass can significantly enhance the longevity of windows and overall home insulation.